Blog

Fur, Feathers, Fluff and Fuzz, Pets

My Experience with Pet Insurance.

I know what you’re thinking… and no we aren’t those crazy pet people. Never in our lives had we considered getting pet insurance. That is, until we got Doc, the bloodhound mentioned in my previous post. No, Doc wasn’t something so costly that we felt we need to insure, in fact I mentioned he was a clearance puppy in my prior post.

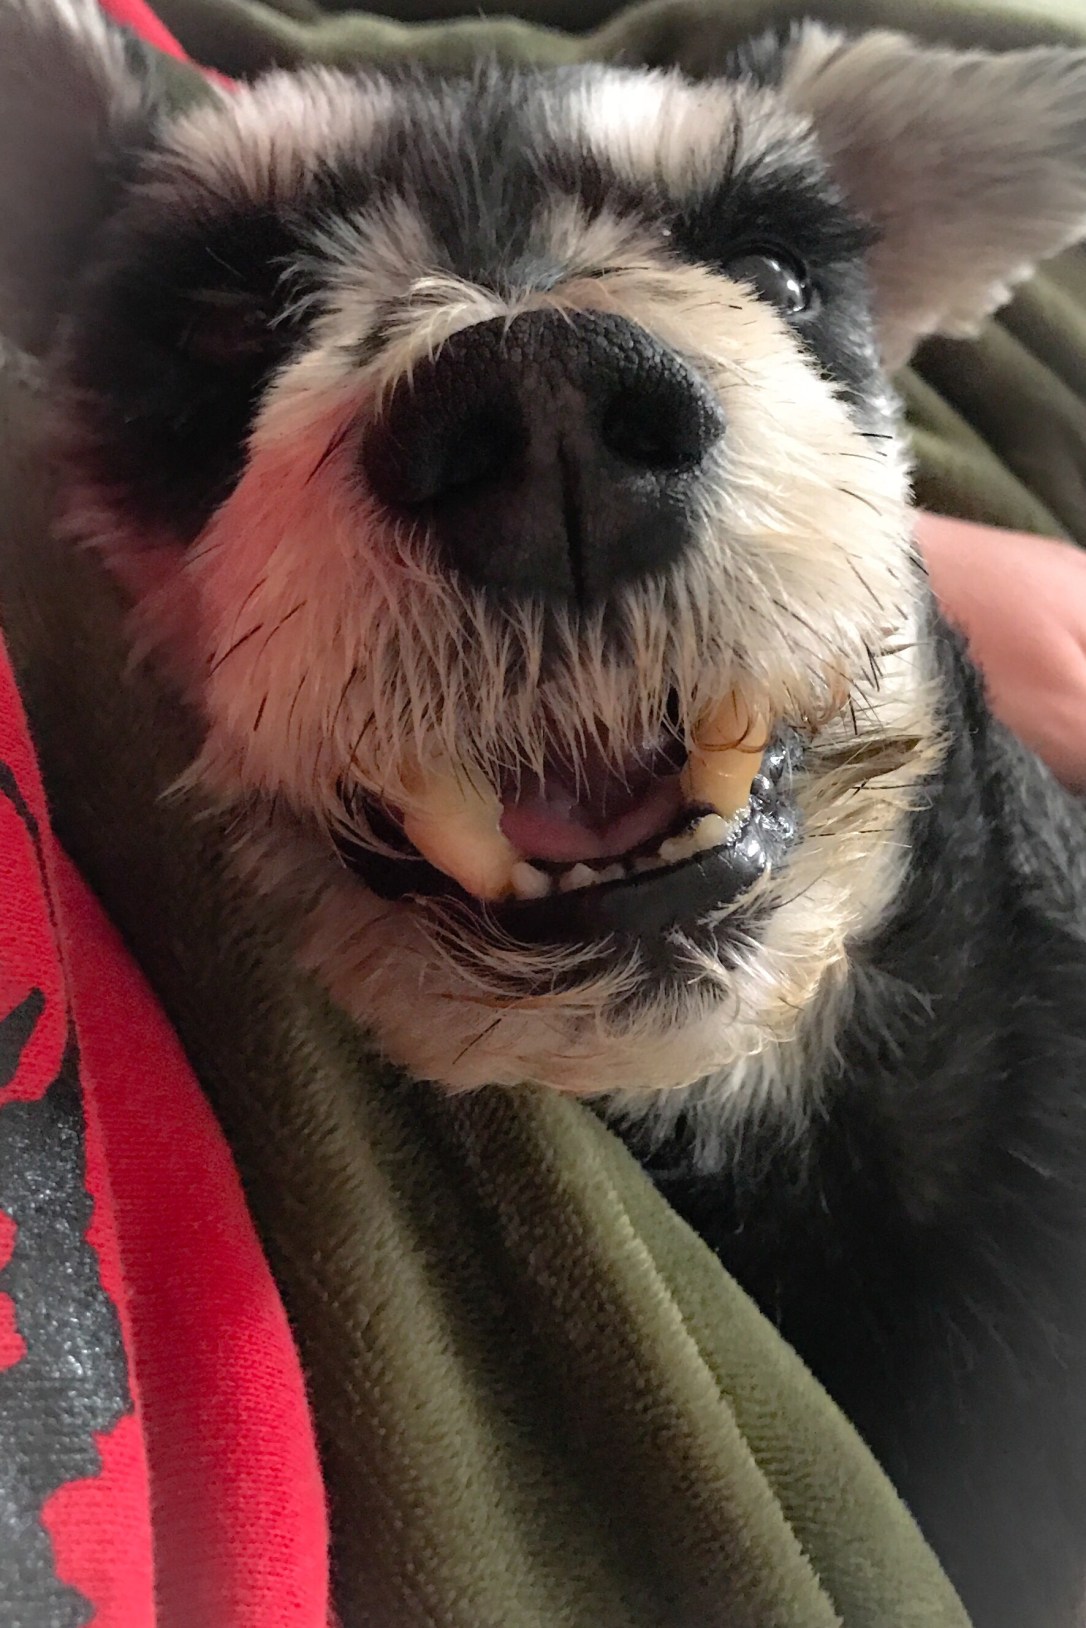
We also have a 10 year-old miniature schnauzer named Mac. It was Mac we really got the insurance for. From the moment we brought Doc home, he thought Mac was his own personal play toy and Mac played back. Doc just kept getting bigger and bigger and the only one who didn’t seem to notice, was Doc.

It wasn’t long after, that Doc playfully put down a paw in the middle of Mac’s back and Mac had to take a visit to the vet for some pain medicine and steroids. In Missouri, those things don’t cost much, but in Colorado (where we lived at the time) a sick vet visit can range anywhere from $200-$400 a pop.

Realizing this could continue to be a problem in the future, we immediately started researching pet insurance. In the end we did end up getting it for both dogs, after all we did pay actual money for Doc and Mac had actually been free. Thus far we haven’t been disappointed.

There are several different brands of pet insurance including Embrace, PetPlan and Geico, but we ultimately went with Nationwide Pet Insurance. None cover pre-existing conditions, and many will not cover routine dental care, but they pay for yearly exams, vaccinations and medicines. Let’s just say, at this point, I’m pretty sure I’ve gotten the better end of the stick.

Two weeks before Eliott left for his last deployment, we were packing as much of our home into a storage unit as we could. For a little context, Eliott was separating from the Air Force right after he returned from Africa and thus I would be moving us back to Missouri so I could start the new job that was allowing us to move home while Eliott was gone.

During this time, Mac needed some teeth pulled (apparently mini schnauzers are prone to bad teeth). The procedure was done and he returned home to softened food while he healed. We went about a week without incident as we packed and moved and had things strung about our home before disaster struck.

Mac got a hold of a bone. While we were out to dinner, no less. I cried when I got home and found him whimpering and shaking, thinking he had only broken a couple of his stitches. I gave him some of his left-over pain medicine from the prior back incident and cradled him against me in our bed all night as I wept.

I cried harder when we took him in first thing the next morning and found out the full extent of what had happened. Normally, this probably would have only popped some stitches, but apparently one of the tooth infections had affected Mac’s jaw as well. That bone broke Mac’s lower jaw.

The vet available that day did surgery immediately, but something wasn’t right. Each time we removed the dreaded cone, Mac would violently push at his jaw with his paws. I investigated under his beard and found that his lower jaw was significantly misaligned with the top.

I immediately called our vet and left a message with what I’d found. He called us back in to re-evaluate Mac’s condition and his colleague’s work to find that Mac would need a specialist. Thankfully, the specialist he referred us to was able to see Mac the following day and took him for the surgery at that very visit.

Mac returned to us with his jaw essentially “wired” shut with acrylic caps attaching his upper and lower canines, as well as wire reinforcing his jaw, and his jaw was aligned. He would need another surgery to remove these caps, but my baby finally was comfortable enough to be without the cone.

Unfortunately, it didn’t end there. After those 3 surgeries, Mac still had to wear a muzzle for an additional 4-6 weeks to stabilize his jaw when not eating. It was then I noticed the swelling under his tongue. On to the emergency vet we went to find Mac had an enlarged Salivary gland that needed drained and had to be monitored at home for recurrence. Well… it recurred. After I had moved home.

Luckily enough, Mac’s surgeon from Colorado had a prior colleague in Kansas City, so two hours north we went. There we found out Mac needed another surgery… this time to remove that salivary gland. Thankfully that was the last trip we’ve had to make North, and the last time Mac needed anything other than routine care (except for an irritated eye) in over a year.

I’m not exaggerating when I say those 3 months were rough. I couldn’t stop the random bursts of crying for weeks during that time period. My furbaby was in pain because we had been careless enough to leave out something he couldn’t have while we packed. If we hadn’t had that pet insurance, I don’t know how we could have afforded to fix the mistake that was our fault.

That Nationwide Pet Insurance paid for 90% of EVERYTHING. 90% of each and every visit, all those medicines and four of the five surgeries I mentioned in this post. They helped us every step of the way. They were truly on our side.

And now our sweet babe is back to his normal self…

Home Cookin', Main Course

Gooseberry Creek’s Sweet and Smoky BBQ Rub

My husband and I love us some good barbecue. I mean we had barbecue catered for our wedding dinner. I’m not just talking any barbecue, but the full feast: pulled pork, pulled chicken, baked beans, potato salad and cole slaw. It was delicious and I enjoyed every mouth full in my perfect white wedding dress.

So through the years I’ve tried to perfect my own barbecue skills. Though they aren’t quite up to par with Pappy’s Smokehouse (the BEST barbecue I’ve ever had), but I have managed to perfect my BBQ Rub and it is fantastic. It is the perfect dry rub for ribs or fantastic seasoning for pulled pork when used with Cherry Balsalmic Vinegar.

It is literally the perfect combination of smoked paprika, spice and brown sugar. I haven’t had a meat yet that it wasn’t good on and even though I prefer it with smoked meat, it is still delicious used on meat in the crockpot or Instant Pot. Here it is folks… and I hope you enjoy it as much as we do!

Gooseberry Creek’s Sweet and Smoky BBQ Rub

  • Difficulty: easy
  • Print

Ingredients:

  • 1/2 c. Brown Sugar
  • 1 Tbsp Smoked Paprika
  • 1 Tbsp Chili Powder
  • 1 Tbsp Onion Powder
  • 1 Tbsp Garlic Powder
  • 1/2 Tbsp Dried Summer Savory
  • 1/2 Tbsp Dried Oregano
  • 1 tsp Black Pepper
  • 1 tsp salt
  • 1/2 tsp Cayenne Pepper

Instructions:

Pour ingredients in a container that has an air-tight lid and mix well with fork until well combined. Use as Dry Rub on smoked meat or use with Cherry Balsalmic Vinegar to make pulled pork or chicken. Place lid firmly on container and store extra for future use.

Bushes, Free Food

It’s Gooseberry Time!

That’s right… it’s time to pick those gooseberries, folks! We live in the Midwest where gooseberries bloom in April and the fruit is ready to be picked in June and all through the summer season. You just have to get to them before the local wildlife does!

Having a gooseberry bush in our yard has been handy for us to keep an eye on any late frosts’ effect on fruit production and to spot when the berries area ready to pick. I enjoy taking bi-weekly strolls through the yard, to monitor the growth of my produce, and when June strikes I know it is time to closely watch that gooseberry bush.

I like to wait to pick until the gooseberries are about pea-sized. But I don’t stop there. Picking throughout the season, I am able to occasionally pick some that have ripened to purple and get them ahead of the critters. Having these sweet purple berries mixed in with the tart green berries means less sugar required for jams, jellies and (more importantly) PIE.

Personally, even though the gooseberry bush has those treacherous spines, I prefer to pick gooseberries with my bare fingers. I find it is easier to grasp the tiny fruit, as well as to remove it without the stem in this manner. Other people prefer to use gloved hands and my cousin has used a blueberry picking device before with some success. However, with that method the chance of removing the berry without the stem decreases significantly.

It is easiest to pick gooseberries with a solid bucket or bag with a handle. Mesh or holes are not conducive to picking as the fruit is so small. And the handle? That’s necessary. I have found it most efficient to have both hands to pick since the fruit grows on the underside of the branches and, as I’ve mentioned, it has treacherous spines. Hanging the handle of my bag or bucket over the crook of my elbow allows me to use that hand to (carefully) grasp and lift a branch of the bush while I pick with the other.

969a4e97-9c22-4a07-888d-6474d9823ae9

Once I’ve had my fill of picking, I head back to the house to stem and clean the berries. I start off using my fingers to pinch the “beards” of the berry left from the flower off as well as whatever stems I missed. Next, I rinse the berries in cool water before soaking them for 2 minutes with Thieves Fruit and Veggie Soak. After the soak, the berries are rinsed in cool water again before I preserve them in one fashion or another.

If you are short on time and unable to immediately turn them into jelly, jam, curd, or pie (my personal favorite) these berries freeze well. Before freezing, I simply dry them off and place them in a quart-sized freezer bag… the perfect size for filling 1 pie. Do you see a trend here? I really like pie.

A Piece of Work, Drink it Up, Kitchen Projects

Fermented Tea

I had never heard of fermenting tea until my sister-in-law came to visit us 2 years ago in Colorado. I remember walking into the quaint homeopathic store in Manitou Springs, Anna’s Apothecary, and immediately hearing my sister-in-law’s voice raise with excitement as she noticed they had kombucha. Of course, she insisted that we all have some.

It was delicious.

With a faint tart flavor, a little bit of sweetness and the perfect balance of ginger, I quickly became intrigued. My sister-in-law had been drinking it, and making it, for years and I listened carefully as she talked about it so that I might learn more. After she left, Eliott and I briefly discussed making our own, but he admitted that he hadn’t loved it.

Fast-forward to me living in Missouri with a deployed husband and needing a hobby. I’d seen more and more on Pinterest about Kombucha, and tried some from Whole foods on a visit out to a friends’ home in the city. So I decided to give it a go. Fermenting tea, that is.

My first step, was to order The Big Book of Kombucha to learn what supplies I needed and how to get started. Ya’ll, I finished that book in 2 days I found it so interesting. I was also so excited to start that I’d contacted a friend I knew brewed to obtain a SCOBY and starter fluid before I’d even finished reading.

The supplies I quickly gathered in my eagerness to begin were:

After that, all I needed was the SCOBY and starter fluid I’d gotten from a friend!

It took me a while to get the hang of brewing kombucha and fermenting it, but I’ve found my perfect balance. Stay posted to learn how I brew my Kombucha!

A Piece of Work, Farm Projects

Drying Herbs

After the herbs are harvested, we take them inside where they are individually processed. First, they are rinsed with fresh cool water before we soak them in Thieves Fruit and Veggie Soak for 1 minute. We then remove the herbs from the soak and rinse all the herbs with fresh cool water again.

To remove the excess moisture from washing, we spin the herbs in a salad spinner. Each herb is spun with moisture subsequently removed from the bowl. We repeat this process with the same herb until a minimal amount of droplets present with spinning. The herbs are then laid out on a tea towel while we continue this process with each of the other herbs.

After the cleaning is completed for all herbs, it is time to preserve the herbs. There are many different ways to preserve herbs, and some of those have different methods. For instance, drying herbs.

I prefer to dry my herbs by hanging them upside down. To do this, you simply bundle your herbs into a bouquet of a single herb, or even a mixture of herbs if you prefer! After they are bundled, you simply tie some jute tightly around the stems and hang them upside down! Of note, it is important to hand them in a cool dark place, or at least out of the sun, so that as much flavor is preserved as possible.

Another drying method is to use a dehydrator. For dehydrator drying, it is best to remove the leaves from the stem and lay them out evenly on the dehydrator tray. This ensures good air circulation and allows your herbs to dry evenly. This method is quicker than hang drying and will be done in a few hours.

You can also dry your herbs in the oven! To do this you would set your oven on the lowest setting and leave the oven door cracked for air circulation. Oven drying is similar to drying in a dehydrator, in that the herbs should be removed from the stalks and the leaves evenly spaced to produce evenly dried herbs.

The last method of drying is almost a combination of the prior two with drying racks or shelves. With this method, the herbs are dried naturally on a mesh tray with the bottom open to air, as a in a shelf form or a hanging form. As in the dehydrator, the leaves will dry more evenly if they are removed from the stalk and evenly spaced along the racks.