Do It Yourself, Saving Money, The Piggy Bank

Construction Auction Junkie

I know, I know… It’s been forever.

I apologize for the lengthy intermission ya’ll. Life got busy, and when my writing schedule got away from me I did a poor job of coming back from it. A really poor job. But here I am, with plenty of new insights, knowledge and experiences to share!

Since my last blog post we’ve been officially approved for our construction loan and our new home already has a floor, 4 walls, a roof, sheetrock and insulation! It has been an intensely crazy ride since last September when all this really got rolling. The weather has held us up a bit as the drought decided to turn into a weekly monsoon the week the papers were signed, but still we found ourselves occupied trying to save money on this process.

Two words: construction auctions.

Yes, people, that’s right. They have auction houses that auction off everything home construction. I’m talking sub-flooring, ship-lap, tile, engineered hardwood, cabinets, siding, decking, trim, windows, EVERYTHING. Let me tell you, THIS is where it’s at.

We have spent several weekends driving to and from auctions in Baxter Springs, KS, Kansas City, MO and Stockton, MO and it has been 100% worth it. We’ve cut the cost of all the materials we purchased there by half if not more. So what have we purchased here? Tile, engineered hardwood, siding, decking and a sink.

As far as flooring goes, the tile we were able to get for $0.30/sq ft. If you know construction you know that a decent, mid-range price for tile is $3. Talk about a whopping savings! The starting bid for the engineered hardwood was $1/sq ft but another couple bid us up to $1.65 before bowing out.

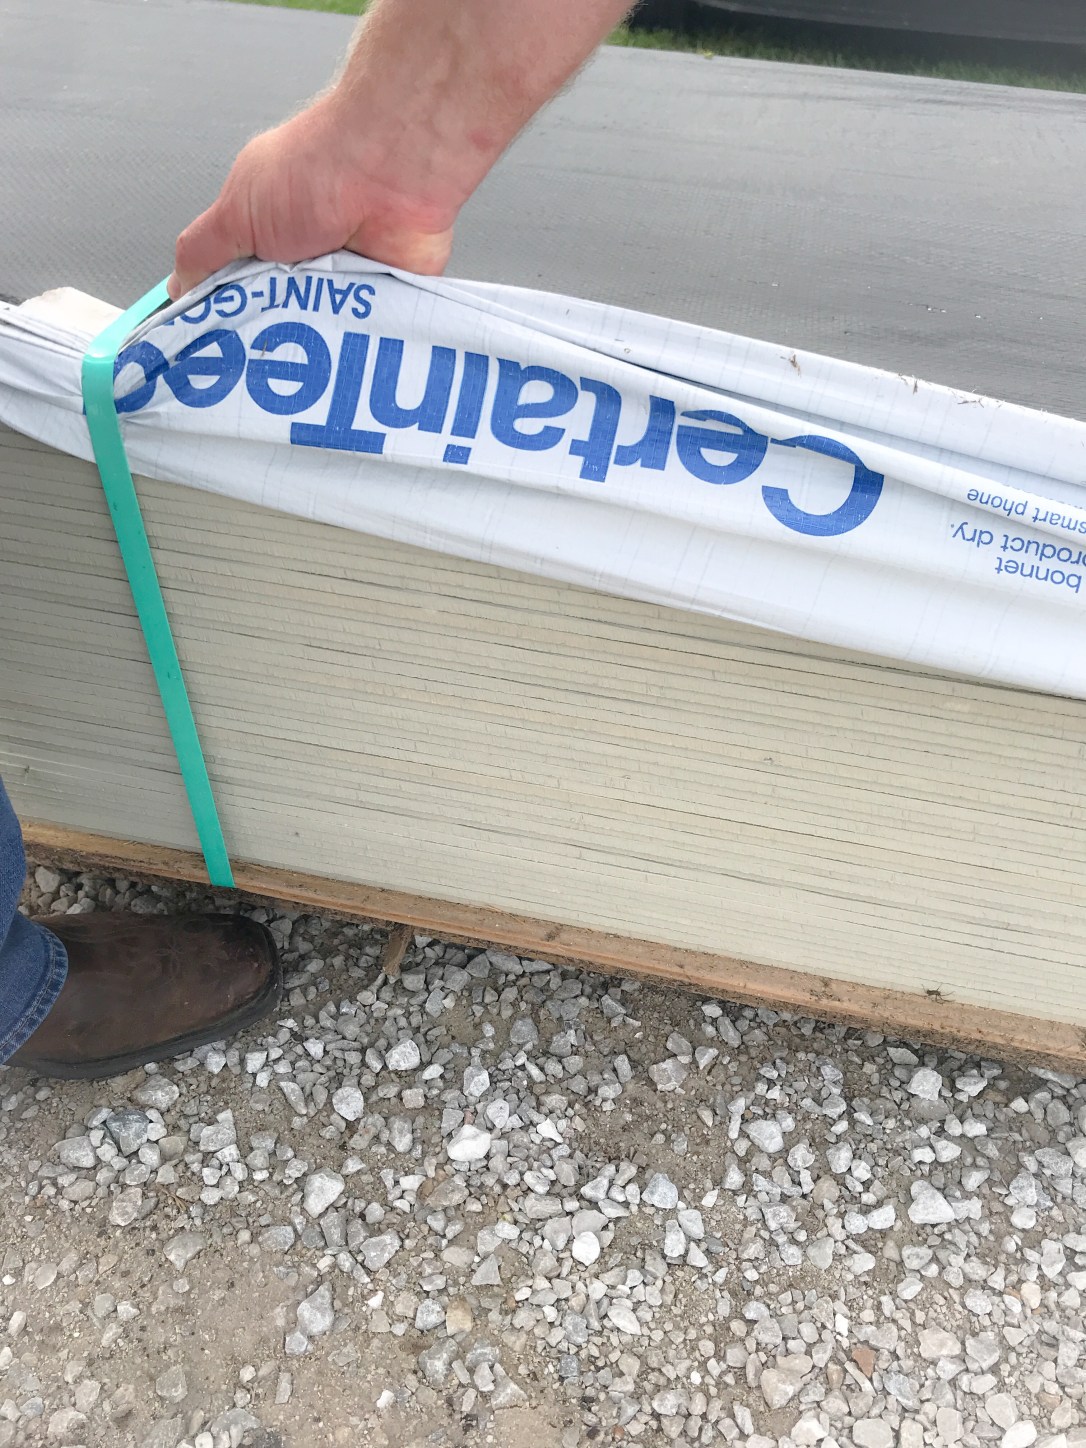
Our outdoor materials we did not get quite that cheaply, but still a huge bargain for what they were. Certainteed fiber cement siding we got for $3.75/stick at the first auction and $4/stick at the second, which is about half the current market value at $8-$10/stick. Our Genova PVC decking we got for $2/linear foot, with $8/stick for trim. So I paid $24 for a 12 foot deck board instead of the retail price of $67.44, $8 for a piece of trim instead of $31.99 AND they threw in the starter and finisher pieces for free!

I really could have kicked myself on the decking, though. We were the only people who bid and I started at $2 thinking they were pricing it per stick, not linear foot. Ugh. Lesson learned. My suggestion? If no one else is bidding, ALWAYS start at $0.50 for a linear foot or a square foot. Heck, you could even try to start that low for a stick!

So, where did we find these auctions?

We found some by craigslist, some by Facebook, and some by newspaper (thank you Cedar County Republican). However, after we got to searching, we found auctionzip.com where several of those we found previously had detailed lists of stock and photos.

And just like that, I’m now addicted to that auction life.

You’re welcome my friends… and happy hunting!

Green Thumb, Saving Money, The Piggy Bank, Vegetable and Herb

Cutting Container Costs

The first time my husband and I had a container garden, we were living in Colorado with a substantially smaller backyard than we’d both grown up with. Since we weren’t familiar with our land lords or the Colorado soil yet, we chose to grow a container vegetable garden that year.

Folks, I nearly had a panic attack when the cashier at the local nursery rang up all our plants, containers, and soil. It was well over $500 for less than 10 square feet of gardening space. Thankfully, the containers were at least something we could reuse year after year but eeesh!

I had the forethought in our second year to start my own seedlings instead of purchasing them. The cheapest way I’ve found to do this is to by a variety bulk package of seeds… this way you also get to try some new things too. I found my Survival Seed Kit with 50 varieties online for $17.99! A lot of seeds need to be started indoors in February and March though. So plan accordingly 🙂

The following year we re-used the same containers, but added some extra gardening space with the help of pallets. Eliott’s work at the time, had a lot of excess pallets they would just throw away, so we got 3 free pallets out of it. Besides, your rows are already ready made for you with pallets! We simply purchased some gardening burlap and affixed it to the bottom of the pallets with a staple gun to hold in our soil.

As another option for free containers, make friends with your local cattlemen. They have a constant supply of empty tubs to dispose of from the salt and minerals they feed their cows. This is how my mom gets her containers!

For my herbs, the prior tenants had left behind some cinder-blocks. Since we had a brick patio, I simply turned them on their side so I could use the holes as planters! They worked great for my basil, cilantro, parsley, dill and fennel, just not my oregano. I used the same seed mentioned in Terracotta Herbs for this herb garden as well!

The soil we purchased, since the yard was too small to make our own compost, was Miracle Grow Vegetable and Herb Garden Soil. Though it wasn’t organic, it was rich soil and garden friendly. But to save even more money it is best to make your own compost, as I mentioned before in Turning Garbage into Gold.

Thus our cost was significantly reduced from over $500 to around $60.

It is definitely important to do your homework prior to purchasing anything for your homestead, big or small!

Fur, Feathers, Fluff and Fuzz, Poultry, Saving Money, The Piggy Bank

Ferment All the Things!

I’ve already written about fermented tea, and I’m sure you’ll hear about some of my other ferments in posts to come. But… did you know that you could ferment things for your animals as well? Ferment all the things!

After reading Welcome to the Farm, by Shaye Elliot, we began a 3 day fermentation on our grain. To do this, we fill a 1 gallon bucket with grain and then fill the bucket with water until we can see it just below the surface of the grain. I loose fitting lid, or towel is placed over the top of the bucket and the bucket is set at room temperature for 3 days.

We start a new fermentation every day so that we always have freshly fermented food for our hens. We currently have 12 hens and they make their way through most of this feed each day. I would adjust it accordingly for your chickens as after 3 days the ferment can begin to turn.

Moldy food is never good for any of your animals and can make them very sick, so it is also necessary to make sure that you clean out the feeder well each day. The fermented food can easily become stuck in the corners and edges of the trough and mold and turn sour to the point that it is no longer good for your chickens to eat.

The advantage of fermented grain? Well, as mentioned with fermented tea, good bacteria grow in the fermented grain and are great for chicken’s digestive health. Additionally, the fermented grain expands and sometimes will start to sprout, providing more nutritional value to your hens.

In providing more nutritional value, the shells of your eggs will increase in thickness. Added bonus? Bigger yolks. I may not like hard boiled yolks, but when it comes to bigger yolks in my poached or over-easy eggs… yes please!

This is also more economical. Since the nutritional value increases and the grain expands with fermentation, your chickens are full faster. Thus, you spend less money on chicken feed for your chickens that are not solely free range.

For now, we just purchase the grain from our local MFA feed supplier. However, at some point we would love to grow our own grains to make our own scratch to ferment for our chickens. However you choose to do it, I think the advantages definitely outweigh the draw backs.

Fur, Feathers, Fluff and Fuzz, Poultry, Saving Money, The Piggy Bank

Two Birds… One Stone

Living on a homestead or farm… you’re pretty much always trying to find ways to kill two birds with one stone. Efficiency is key on the farm and we do our best to work smarter, not harder. We work hard enough as it is and we are always about trying to find things that work in multiple ways, things that serve multiple purposes or things that can do multiple jobs.

Chickens… for instance.

We recently built a movable chicken coop to allow our chickens to “free range” in a contained manner and save us some money on feed. Initially, my father was concerned by the devastation the chickens were leaving in their wake; they like to peck and scratch until they’ve almost cleared the grass and have made some dust baths for themselves at each location.

Then we started to notice something happening at the oldest coop locations. Thick, green, beautiful grass trailed along behind the chicken coop. Healthier grass than the rest of the yard had! It was literally repairing the yard, one 12′ x 5′ section at a time. When we get a fenced in yard… I’m all about letting those ladies free range wherever they like.

So we started strategically moving the chicken coop about the yard to make a more consistent pattern of thick, fresh grass. It is working like a charm folks!  But why stop there? There are SO many more things they could be helping with… like the garden. So we tried it.

We had weeds popping up in our freshly tilled garden left and right, the perfect fodder for our chickens. They LOVED making a dust bowl out of the garden and taking care of our weed problem so we could plant our corn and squash. We killed not one, not two, but three stones that week as we fed the chickens, allowed them to weed for us AND fertilized our garden.

So technically…

Three Birds… One Stone.

Fur, Feathers, Fluff and Fuzz, Pets, Saving Money, The Piggy Bank

It’s a Ruff Life

It’s a ruff life for a long haired, adventurous pup on a farm ya’ll. I didn’t realize quite how bad it was until we’d lived inside Colorado Springs limits for 2 years and then moved back to the farm. Poor Mac, our mini schnauzer, literally gets everything his fur.

Mac needed a trip to the groomers about every 2-3 months in Colorado still, and those winter snow drifts could really mat up his fur, but it’s nothing like life on the farm. Here he needs grooming at least once a month and a bath every week to every other week. the cost really adds up.

To save money, we decided to start grooming him ourselves. My dad bought some Oster Clippers made for pet grooming, some hair shears, and a mini clipper and we got to work.  Yes, it is slightly expensive, but in 3 months it paid for itself. The bigger investment is the time it takes.

It takes anywhere from an hour and a half to 3 hours to groom Mac. He hates it. I mean he loves getting toweled off at the end, but everything else is a definite hate. So it really depends on how well he cooperates with us. Additionally, about once a year Mac’s beard just gets too long, is easily matted and needs either a serious trimming or to be completely started fresh.

This last time we had to start fresh.  And that takes more time.

I generally start with the Oster Clippers on Mac’s back and neck clipping against the direction his fur grows. I also hit his tail and legs with it as well as the tops of his ears. It is important to be careful not to catch any of the edges or the thin skin flaps of the ear and around the upper leg where the thin skin membrane attaches from the leg to the belly.  Ask me how I know.

Next I use the shears to trim the hair on the edge of his ear as I firmly hold the edge between my fingers to ensure I do not clip him. I trim his eyebrows with these as well, clamping my fingers together firmly at the base of them to protect his eye. The rest of Mac’s face is trimmed with the mini clippers that are blunt and much safer around his eyes.

When we are finished trimming and clipping and cutting, Mac gets his bath. In case you wondered… he also hates this part. He shivers in the warm water with his ears pinned back, standing stiff legged and unmoving while I douse him under the water spout and lather him up with Citrus and Sea Salt wash.

I use this soap because there has been so much controversy over the name brands available at our local stores. I figure it’s less dangerous for him and the label even says it is versatile enough for pets. After I rinse Mac off, we finally get to his favorite part; he LOVES being toweled off. He will charge the towel over and over like a Spanish bull, tail wagging the whole way.