Green Thumb, Saving Money, The Piggy Bank, Vegetable and Herb

Cutting Container Costs

The first time my husband and I had a container garden, we were living in Colorado with a substantially smaller backyard than we’d both grown up with. Since we weren’t familiar with our land lords or the Colorado soil yet, we chose to grow a container vegetable garden that year.

Folks, I nearly had a panic attack when the cashier at the local nursery rang up all our plants, containers, and soil. It was well over $500 for less than 10 square feet of gardening space. Thankfully, the containers were at least something we could reuse year after year but eeesh!

I had the forethought in our second year to start my own seedlings instead of purchasing them. The cheapest way I’ve found to do this is to by a variety bulk package of seeds… this way you also get to try some new things too. I found my Survival Seed Kit with 50 varieties online for $17.99! A lot of seeds need to be started indoors in February and March though. So plan accordingly 🙂

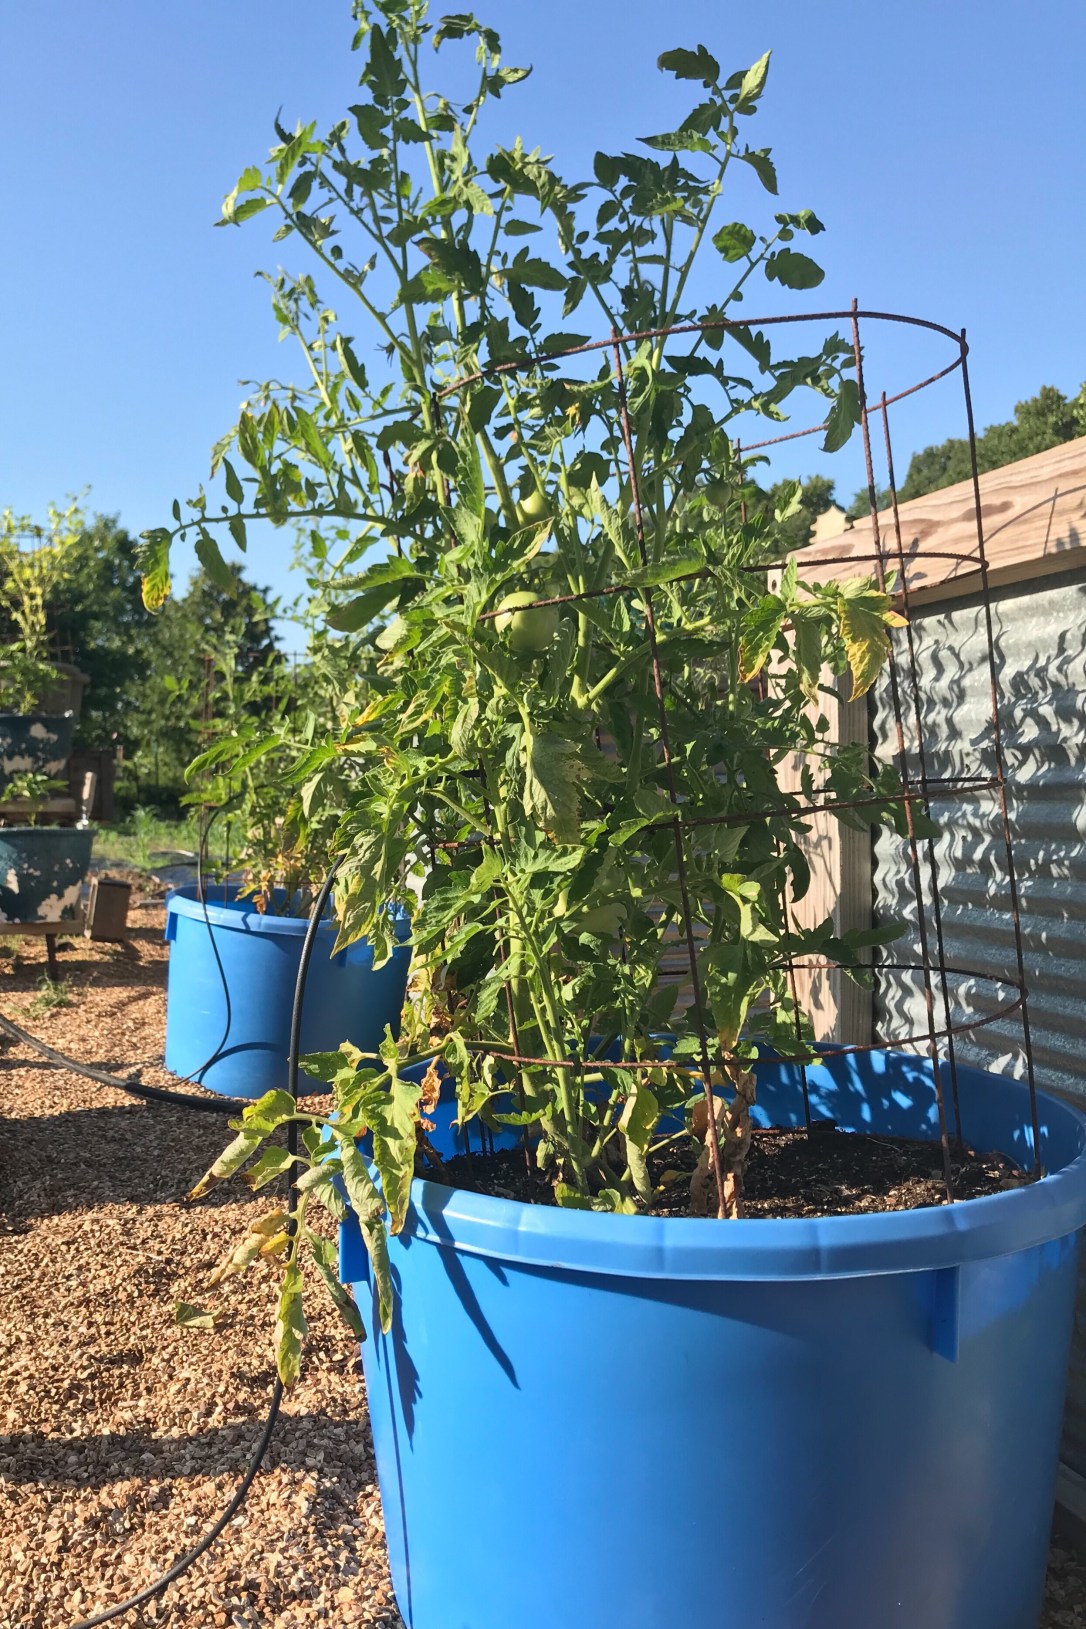
The following year we re-used the same containers, but added some extra gardening space with the help of pallets. Eliott’s work at the time, had a lot of excess pallets they would just throw away, so we got 3 free pallets out of it. Besides, your rows are already ready made for you with pallets! We simply purchased some gardening burlap and affixed it to the bottom of the pallets with a staple gun to hold in our soil.

As another option for free containers, make friends with your local cattlemen. They have a constant supply of empty tubs to dispose of from the salt and minerals they feed their cows. This is how my mom gets her containers!

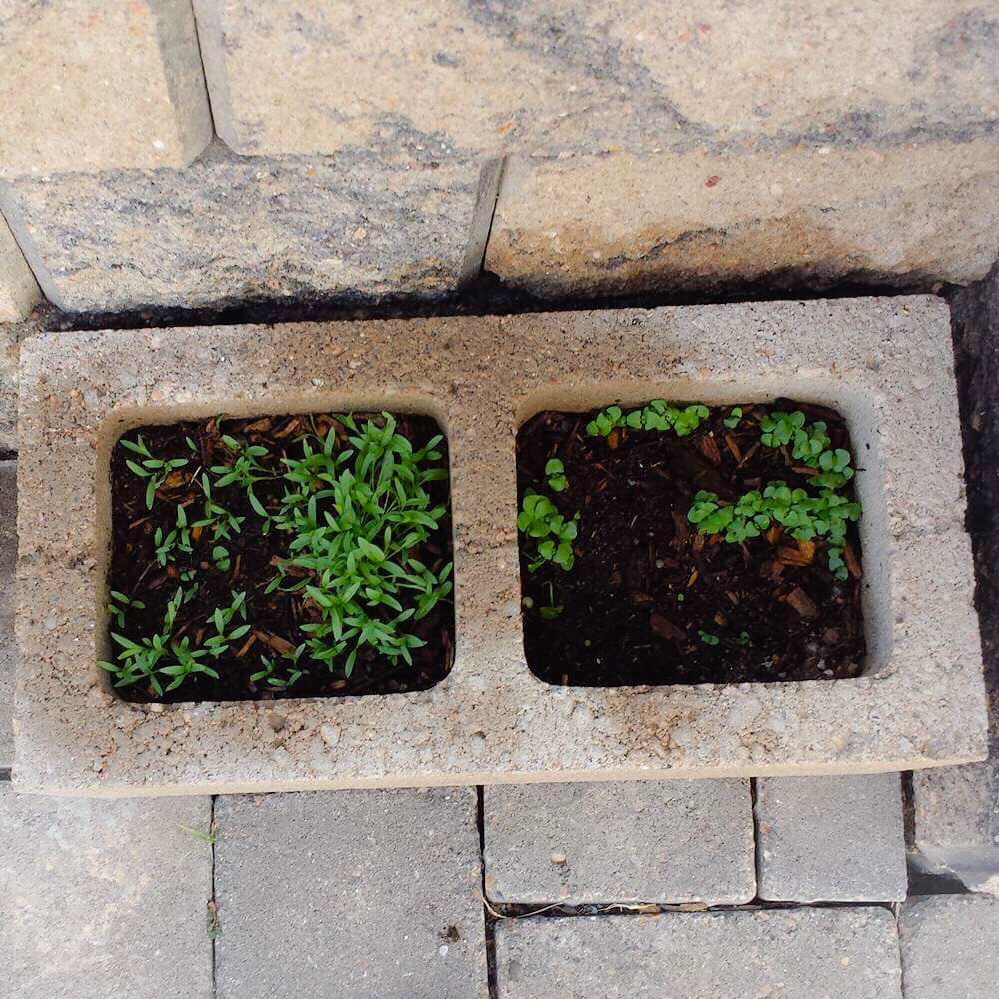
For my herbs, the prior tenants had left behind some cinder-blocks. Since we had a brick patio, I simply turned them on their side so I could use the holes as planters! They worked great for my basil, cilantro, parsley, dill and fennel, just not my oregano. I used the same seed mentioned in Terracotta Herbs for this herb garden as well!

The soil we purchased, since the yard was too small to make our own compost, was Miracle Grow Vegetable and Herb Garden Soil. Though it wasn’t organic, it was rich soil and garden friendly. But to save even more money it is best to make your own compost, as I mentioned before in Turning Garbage into Gold.

Thus our cost was significantly reduced from over $500 to around $60.

It is definitely important to do your homework prior to purchasing anything for your homestead, big or small!

Flower Garden, Green Thumb, Saving Money, The Piggy Bank, Vegetable and Herb

Turning Garbage into Gold

You know that stinky trash can or garbage disposal you have in your kitchen? What If I told you all that stinky garbage could be turned into gold? Or at least something pretty close to it in a homesteader or farmer’s eyes.

I’m talking about composting folks.

Our modern society is an expert at creating waste; our eyes are too big for our stomachs, we are materialistic and we buy and toss things quicker than the trash truck can remove them. So much of that waste could be used to make something that gives life. So why not turn the waste into something better?

Each time we food prep, each time we have leftovers, each time a fruit or vegetable goes bad it goes into a bucket. Every day that bucket is taken outside and dumped into a 4’x4′ metal basket. And do you know what is trickling out of the bottom of that metal basket? Gold.

There are also other “wastes” you could put in your gold making bin. I’m talking poop folks. Chicken, horse and cow manure specifically. All are great additives to a compost pile or bin and help the waste break down into fertilized soil quicker.

To help your compost further, it is important to keep it wet and turn it frequently. Our current metal basket system makes this a difficult task though. We are eventually going to make a new composting system, which I will share on here when finished, that can be managed easier. I would prefer to have something that I can continuously turn so that the compost turns to usable soil more quickly.

To sum up… the things that we add to our compost bins:

-Chicken manure

-Cow Manure

-Horse Manure

-Vegetable Scraps

-Fruit Scraps

-Egg Sells

-Coffee Grinds

-Tea Bags

-Weeds

-Newspaper-in small pieces

-Old Animal bedding

-Wood Ash

-Leftovers

I’m sure there are other things out there we can toss in (I definitely need to do more research on the topic), but here’s a start. The possibilities are endless. AND you get free fertilized garden soil out of the deal!

Green Thumb, Vegetable and Herb

Herb Harvest

I like to have a steady supply of herbs in my terracotta garden as long as possible. To achieve this without constant reseeding or succession planting, I harvest the tops of my herbs throughout the summer and fall season. The herbs should continue to grow as long as they are not allowed to flower.

The key to this is to monitor your herb garden daily, if not twice a day, for any sign of budding. Those that I’ve found to bloom (or bolt) quicker than others are Dill, Basil, Cilantro and Summer Savory. I highly recommend that you keep a close eye on those this growing season. In fact, these are the herbs I would monitor twice daily after they get above 6 inches in height.

Personally, my Sage, Thyme, and Oregano did not begin to bud until the end of early fall. Thus, I did not have to worry much about harvesting anything from those aside from what I needed for a meal any given day. This timing couldn’t be more perfect.

For my last and final herb harvest, I wait until the weather cools and the danger of frost looms. At that time, my husband and I will go down the line of terracotta pots with scissors and enough bags in hand for each individual herb. We cut each perennial approximately 2-3 inches from the ground, careful to still keep a few leaves on each sprig or stock in the pot. The annuals we cut flush with the bottom.

After depositing the herbs in their individual bags in our kitchen, we move all the terracotta pots into the greenhouse with the perennials under drip spouts. This way the herbs will get water all winter long whenever the yard hydrant that particular hose is connected to, is turned on. This way, when you check your perennial herbs in the spring, you should have some fresh green sprouts to welcome you.

I mentioned in my prior herb post, the reason I chose terracotta pots was to ultimately be able to bring them in our house during the winter. Since we are currently not in our own home, they go to the greenhouse as mentioned above. When our own house is finished, they will come indoors. If this is the method you employ, just continue the cycle of summer harvesting through the winter! Fresh herbs all year long!

Green Thumb

Terracotta Herbs

Planting my annual herbs in my over-sized terracotta pots today sparked my mind to all the reasons I had chosen to raise my herbs in this manner a year ago. Initially, I simply wanted an herb garden I could move indoors in the winter and reap the benefits of my work year-round. I mean, who doesn’t prefer fresh herbs? As I began reading my farming and homesteading books, I quickly realized there were several other advantages.

The first thing I discovered was the dominant personality of mint. Thank goodness I had planted that one in a pot y’all. It apparently has an insane ability to grow… and grow… and grow… until it has taken over an entire bed (or yard) if not constantly put in check. Talk about a pain in the butt!

Given the fact that we have been living with my parents this past year and the resultant lack of “extra” space prevented me from moving my herbs into the house for the winter. So imagine my joy when I discovered that some herbs are perennials and I would not need to move them indoors to have them return the following year. Some of these include:

-Tarragon

-Bay

-Rosemary

-Mint

-Sage

-Summer Savory

-Thyme

-Chives

-Oregano

-Marjoram

-Lavendar

Now some of these herbs are reported to be “tender” perennials, such as Rosemary and Marjoram. “Tender” meaning they need warmer and/or milder winters to return the following year. However, as a precaution, I decided to move all my terra-cotta pots into the greenhouse for the winter to give them the greatest chance of survival.

I personally didn’t grow Marjoram last year and I never got more than a short sprig of my Rosemary to grow so I cannot attest to how well they return. However, wintering over my terra cotta herb garden in our greenhouse, I found some of the above to have done well and some to have done poorly.

The mint, tarragon, summer savory,chives and thyme all wintered over phenomenally. In fact, when we went to start seeds in early spring, the tarragon was already about 6 inches tall y’all! The mint had a few green leaves on it, and the chives several green sprigs at the time, but I was fairly certain the thyme and summer savory would have to be restarted. But My mother and I kept watering and monitoring and soon we found a few green shoots arising from the dead tangles. So, lesson learned, don’t give up on your perennials too soon folks.

Since Sage is woody and appears to be a more hardy herb I had assumed it would do well, but it did not come back as I had hoped. As for the oregano, I had a difficult time getting it to grow last year (though once it got a start it was proliferative) so I was none too surprised when it was determined to remain a dead mass of leaves.

So I had to reseed both sage and oregano in addition to my favorite annuals: cilantro, parsley, basil and dill. Regardless, I’ve learned something I didn’t know before and will be able to add that information to my homestead journal for future trial and error.

For anyone with a hankering to grow, I highly recommend starting off with an herb garden. Even in the city you can grow one indoors in small pots with saucers. Those I’ve found to be easiest to start and grow indoors are: basil, thyme, cilantro and parsley.

I don’t know about you, but I love me some seasonings and I’m so excited to move my herbs back to our sidewalk. I’m so excited to, once again, have easy access to fresh herbs all summer long.